Starting the Installation
Installing NetSupport School CCE is exceptionally easy and provided you follow a few simple rules you should be up and running within a very short time.
Navigate to the NetSupport School CCE Installer file and follow the on screen instructions.
The NetSupport School CCE installation will start displaying a Welcome screen.
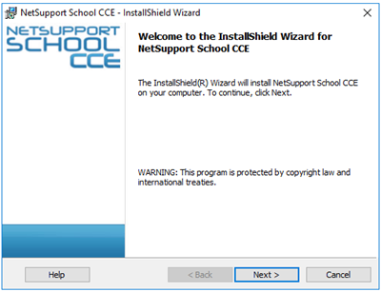
NetSupport School CCE Welcome dialog
Click Next to continue.
If you are upgrading your Windows operating system, you must ensure that you de-install NetSupport School CCE prior to upgrading. NetSupport School CCE can then be re-installed once the operating system upgrade has been completed.
When installing make sure that you are logged in as an Administrator.
When installing NetSupport School CCE on Windows 7, Windows 2008 Server R2, Windows 8 and Windows 2012 Server the Filter Driver may not be installed if you do not have the required Service Pack and hotfixes. You can still proceed with the NetSupport School CCE installation without the Filter Driver but some Internet Control features will be unavailable.
