Setting up an approved or restricted website list
|
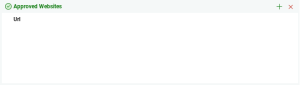
Approved websites: When activated, the Student is only able to view the websites specified on this list. A page will appear at the Student machines displaying the list of approved sites that they can choose from. |
|
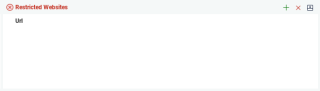
Restricted websites: When activated, the Student is unable to view the websites specified on this list. However, all other sites, even those that are not on the approved list, can be viewed. |
Add a website to your approved or restricted list
-
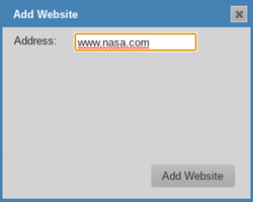
Click the Add
 icon to add a website to your approved or restricted list.
 -
The Add Website dialog will appear.
-
Type in the website address under Address, e.g. www.google.com
-
Click Add Website.
-
The website icon will appear under the approved or restricted list.
Remove a website from your approved or restricted list
-
To remove a website from the list, highlight the chosen website and click the Remove
 icon.
icon.
Apply approved or restricted websites
-
Click the Approved Only or Blocked Restricted icon at the bottom of the Tutor Console.
-
If a Student is currently viewing a website included in the activated restriction list, they will be redirected to a message stating that the URL has been blocked by the Tutor.

End approved or restricted websites
-
Click the Unrestricted icon at the bottom of the Tutor Console.
Block all web access
Allows you to block all access to the internet for Students.
-
Click the Restrict All icon at the bottom of the Tutor Console.
Or
Click the Block All icon in the toolbar.
