Deploy a Client Configuration
Using NetSupport School Deploy, you can remotely deploy a Client Configuration file containing specific Client settings.
Deploy a Client Configuration
-
Select the required machines.
-
Choose {Deploy}{Client Configuration} from the Deploy main window drop-down menu.
Or
Right click on the selected machines and choose Deploy - Client Configuration.
-
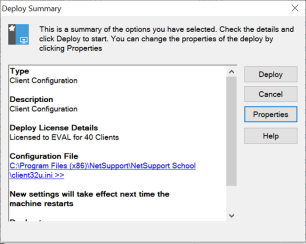
The Deploy summary dialog appears.
-
Click Properties to enter the details for the deployment.
-
Click Browse to specify the folder containing the Client Configuration file that is to be deployed. The default Configuration file is CLIENT32U.INI and is stored in the NetSupport School installation directory.
Note: The default configuration file for Students pre-v12.50 is CLIENT32.INI. -
Click Edit to access the Client Configurator in order to make changes to the Configuration file.
-
You can specify additional Client parameters if required. For example, this may be the location of an additional Configuration file to which you want to add specific user credentials (name and password).
-
For the new settings to take effect immediately, the Client Service will be automatically restarted after the deployment. If a restart is not required, uncheck the Restart the Client service option.
-
Click OK to return to the Summary dialog. You can view the contents of the Configuration file by clicking on the file name.
-
Click Deploy. A progress dialog appears, enabling you to monitor the status of the deployment.
-
Click Close when complete.
See also:
Deploy - preparing a deployment
Deploy a NetSupport School package
Deploy a NetSupport School licence file
Pre-define settings for a future deployment
