Deploy - preparing a deployment
Choosing who to deploy to:
-
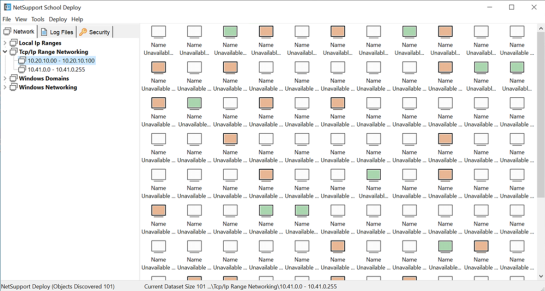
From the Deploy window, select the Network or Security tab.
-
A list of available networks, domains and workgroups will appear in the left-hand pane. Expand or reduce the Tree list by clicking on the arrows.
Note: You can also deploy to specific IP ranges by adding the appropriate address range to the Tree. Select {Tools}{Add IP Range} from the menu bar. -
Highlight the required group in the Tree view.
-
The names of the machines belonging to the selected group will appear in the right-hand pane. Click between the Network and Security tabs to view specific information about each machine. You can change the appearance of the list view by selecting {View} from the menu bar.
-
Select the machines to include in the deploy routine. (You can use CTRL-Click or SHIFT-Click). Before deciding to include or exclude a machine, you can view its properties by right clicking on the machine name.
Choosing what to deploy:
You can choose:
NetSupport School licence file.
See also:
NetSupport School Deploy - main window
NetSupport School Deploy - getting started
Pre-define settings for a future deployment
