Deploy a NetSupport School package
Deploy a package
-
Select the required machines.
-
Choose {Deploy}{NetSupport School Package} from the Deploy main window drop-down menu.
Or
Right-click on the selected machines and choose Deploy - NetSupport School Package.
-
The Deploy summary dialog appears.
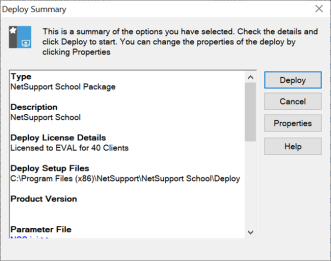
This dialog provides a summary of the options you have selected for the deployment. If a first-time deployment, the text will appear in red to indicate that the required information has not been entered. To enter or amend the information for the deployment, click Properties.
-
The Install Properties dialog appears.
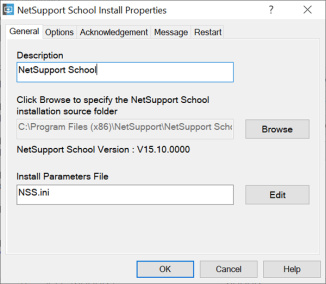
Enter the properties for the deployment by selecting the five tabs in turn.
-
When you have completed all five tabs, click OK to return to the Deploy summary dialog. You can review your selections and edit if required.
-
Click Deploy to commence the installation. A progress dialog appears, enabling you to monitor the deployment as it installs on each machine. The dialog has two tabs:
Log tab: Enables you to monitor the deployment as it reaches each machine.
Status tab: Lists the stage the deployment has reached on each machine. For example, the installation may be complete on one machine but still in progress on another.
-
Click Close to return to the Deploy main window when the installation is complete.
See also:
Deploy - preparing a deployment
Deploy a NetSupport School licence file
Pre-define settings for a future deployment
