The View window
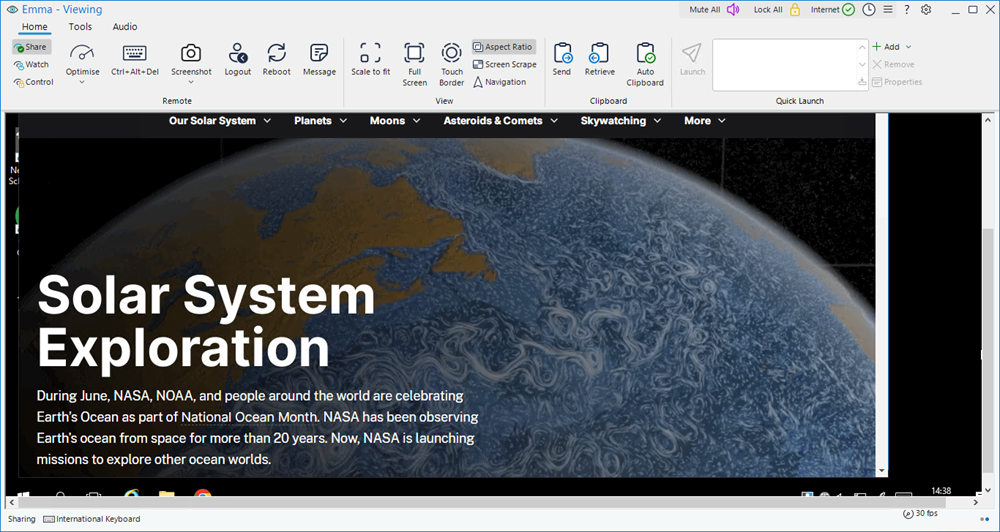
The View window is the primary interface for interacting with individual Student's. Each Student has its own View window. The Student View windows are used for displaying the screens of the Students at the Tutor. You can have multiple Student View windows open and displayed simultaneously.
View window
The View window is divided into the following sections:
The caption bar
The caption bar displays the name of the Student you are currently viewing. If the Teacher Support![]() Enables teachers to request support from a technician. When the Tutor Console is connected to the Tech Console a Support icon appears on the caption bar. feature is enabled in the Tech Console
Enables teachers to request support from a technician. When the Tutor Console is connected to the Tech Console a Support icon appears on the caption bar. feature is enabled in the Tech Console![]() A unique console specifically for technicians, providing a single view of all machines across the school., a Support
A unique console specifically for technicians, providing a single view of all machines across the school., a Support ![]() icon appears here, allowing you to chat or message a technician.
icon appears here, allowing you to chat or message a technician.
The following options are available on the right-hand side:
|
[Multiple windows icon] |
Shows how many windows are open. From here, you can access the Window menu. Note: This option is only available when you open a View window in the Tech Console.
|
|
[Hamburger menu icon] |
Opens the Quick Access list Note: This option is only available when you open a View window in the Tutor Console.
|
|
[Online help icon - question mark] |
Access the online help and version number, licensee, Technical Support and compression information. |
|
[Settings icon] |
Access the View settings for the current configuration. |
|
[Minimise window icon] |
Minimise the window. |
|
[Maximise window icon] |
Maximise the window. |
|
[Close window icon] |
Close the window. |
The ribbon
The ribbon provides access to all features, tools and settings available to use at the Student you are currently viewing. Positioning the cursor over an icon will display a brief description of its function. The ribbon is organised into the following tabs:
Home: Allows you to select the mode to view the Student's screen in (Share, Watch or Control), send Ctrl+Alt+Del to the Student, capture the current screen
Monitor: Shows details of the monitors the Student is running. You can choose to view the whole desktop or each individual monitor.
Tools: Provides a selection of tools available to use at the Student you are currently viewing.
Audio: Allows you to enable audio between a Tutor and a Student and configure the settings.
The Student screen area
This is used for displaying the screen of the Student.
The status bar
The status bar shows the current view mode, the current keyboard layout (by default, this is set to international keyboard; click to change this) and the battery and wireless strength, if applicable for the Student.
