Viewing a Student's screen
Having connected to a Student, you can now remote control it. This is called viewing. The Student's screen will be displayed in a window on the Tutor machine. NetSupport School allows you to view multiple Student screens, each in its own window, simultaneously.
To view a Student
-
Double-click the required student.
Or
Select the required student, select the Class tab in the ribbon and click View Client.
Or
Right-click the Student icon and choose View Client.
-
The View window for that Student appears at the Tutor.
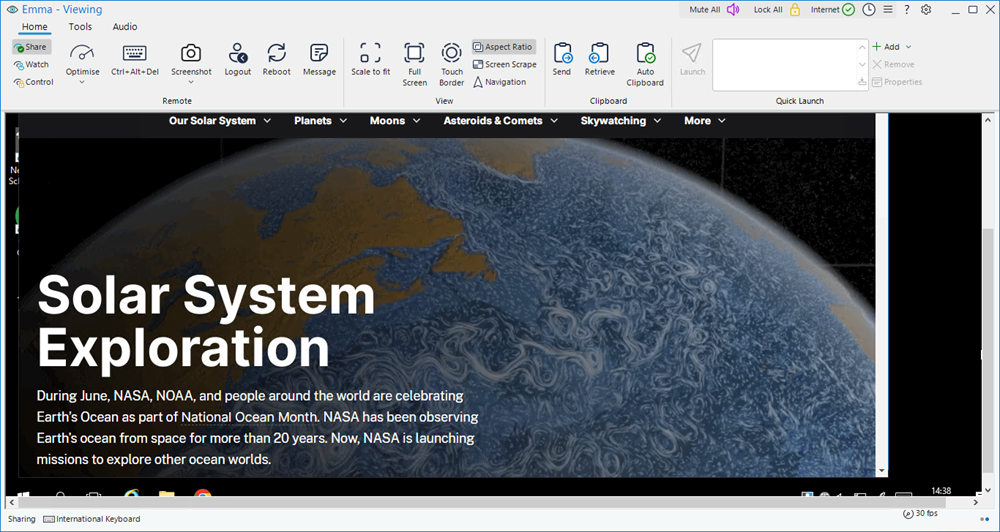
To aid navigation of the Student screen, a thumbnail of the screen appears (if the Student is running multiple monitors, they are all displayed), enabling you to scroll the Student desktop more easily. Click inside the thumbnail to view specific areas.
For acceptable performance while viewing, ensure that the Student's Active Desktop is turned off.
If the Student uses multiple monitors, you can switch between the monitors or show the whole desktop by clicking the Monitor tab in the ribbon.
If the Tutor and the Student are both using touch-enabled devices, the Tutor can control the Student's machine using touch commands. You can also enable a touch border. This border makes it easier to access certain functions when using drag-touch gestures.
To stop viewing and return to the Tutor Console
-
On the caption bar, click the Close
 icon.
icon.
See also:
Remotely executing applications at Students
Rebooting or logging out Students
