Viewing a Student screen
Having connected to a Student, you can control it. This is called viewing. The Student's screen will be displayed in a window on the Tutor machine. NetSupport School will allow you to view multiple Student screens, each in its own window, simultaneously.
To view a Student
-
Double-click the required Student in the List view
 Displays the currently connected Students or groups. You can switch the display mode between large icons and details view from the View tab in the ribbon..
Or
With the required Student icon selected, choose {Student}{View} from the Tutor Console drop-down menu.
Or
Click the View Client icon on the Tutor toolbar.
Or
Right-click on the Student icon and choose View.
-
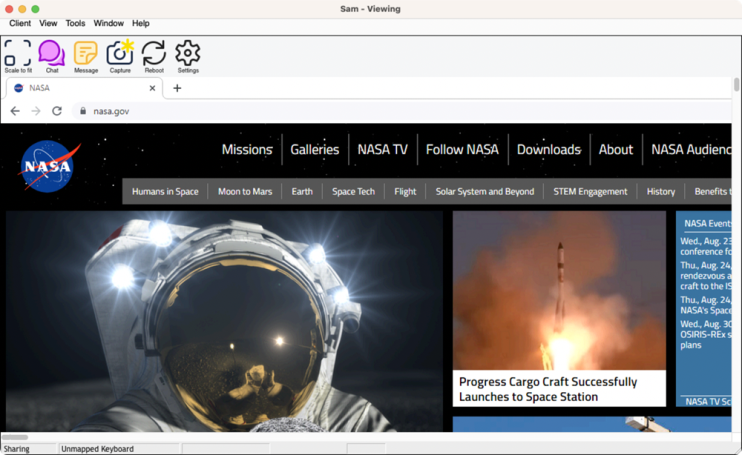
The View window for that Student will appear at the Tutor.
To return to the Tutor Console
-
Choose {Client}{Close} from the View window drop-down menu.
Other View window options:
Scale to Fit
It may be that the Student is running in a higher resolution than the Tutor. In this case, choosing the Scale to fit option from the View window menu, will re-size its screen to fit the window in which it is displayed.
Keep Aspect
Maintains the correct aspect ratio of the remote screen.
See also:
To stop viewing a Student to increase performance
