Publish an exam
Before an exam can be run at Student machines it must be published. This bundles the various elements of the exam, questions and resources into a ZIP file that can be stored in either the default C:\Program Files\NetSupport\NetSupport School\Tests folder or in a shared network area of your choosing. The latter having the added benefit of enabling other teachers to access the exam.
Once published, the exam can be selected in the Testing Console.
To publish an exam
-
Select the exam in the Exams pane tree view.
-
Select the Home tab in the ribbon and click Publish.
Or
Right-click on the exam name and select Publish.
Note: Exams published in this version should only be used with NetSupport School version 15.10 or later. -
The Publishing Exam dialog appears, confirming the exam properties.
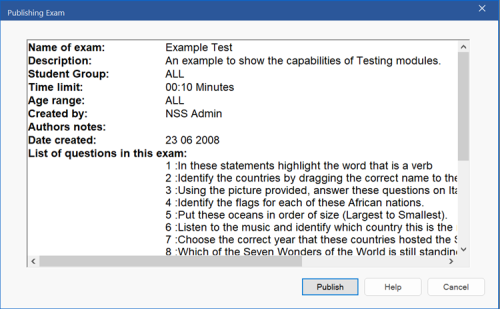
Click Publish.
-
Enter a suitable name for the exam. This is the name that appears in the Testing Console when selecting an exam to run. If you want the exam stored in a different location, click Change. Click Save to create the ZIP file.
See also:
