Exam grades
Upon completion of an exam, teachers are provided with a detailed breakdown of results. You can further enhance this report by categorising the students within specific bands.
Select the Home tab in the ribbon and click Grades.
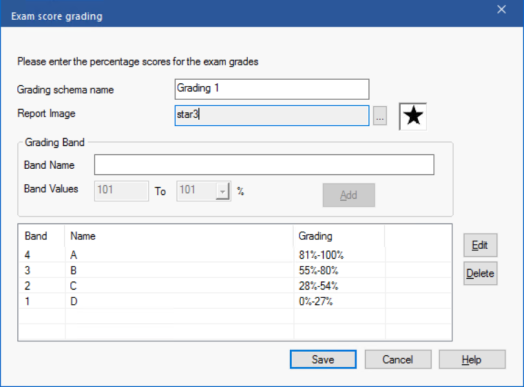
Exam score grading dialog
Enter a name for the grading schema and add a report image. This provides a pictorial indicator of how well the Student has done. For example, a Student scoring 20% might have one star appearing next to their grade and someone scoring 80%, four stars. The image, restricted to 32x32 pixels, must be imported into the Resources database.
Give each grading band a description and attach the appropriate percentage mark. Click Add to insert each band into the list. Use the Edit or Delete icons to change any of the items in the list. When all bands are added click Save.
You can view the grades each Student has achieved in the Test Report window.
See also:
