Interactive Whiteboard
A full screen interactive whiteboard is provided, enabling the Tutor to use NetSupport School's annotation tools to highlight the screen and show the results to a selected group of Students.
-
Select the Whiteboard View
 icon on the left-hand side of the Tutor Console.
Or
Select the View tab in the ribbon, click the drop-down arrow
 in the Mode section and choose Whiteboard View.
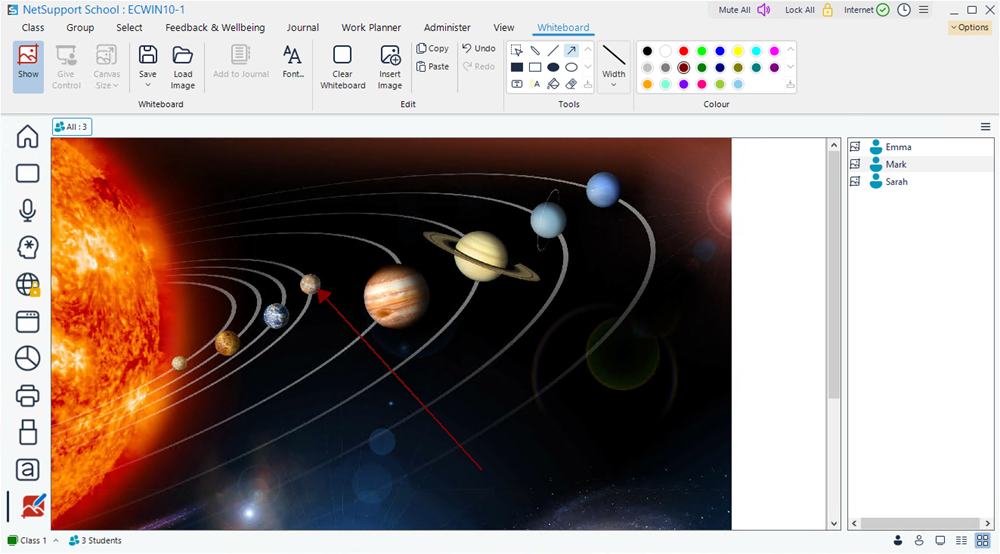
Use the range of annotation tools provided in the Whiteboard tab in the ribbon to highlight the screen and add any stored graphics.
-
If required, you can save the content of the whiteboard for later use. Select the Whiteboard tab in the ribbon and click Save.
To show the whiteboard to Students
-
If showing a stored whiteboard image, select the Whiteboard tab in the ribbon and click Load Image.
-
You can show the whiteboard to a group of Students by selecting the required group tab in the group bar. The Student list on the right-hand side of the Tutor Console shows which Students are included.
Note: You can set the whiteboard size displayed on Student screens. Select the Whiteboard tab in the ribbon, click Canvas Size and choose the required size from the drop-down menu. -
Select the Whiteboard tab in the ribbon and click Show.
-
The content of the Whiteboard will appear on the selected Student screens. The Tutor can continue to annotate the whiteboard in real-time.
Note: The Show and Whiteboard View icon turns red and the Whiteboard icon appears next to the Student icons in the Student list, showing that the whiteboard is being displayed to Students. -
To remove the whiteboard from Student screens, click Show again.
Whiteboard leader
When Students are viewing the whiteboard, they cannot initially annotate the screen themselves. However, the Tutor can nominate a Student to be the 'whiteboard leader'. This activates the annotation options at the selected machine. The Tutor can switch control to any of the other participants as required by selecting their icon in the Student list.
-
Select the required Student from the Student list.
-
Select the Whiteboard tab in the ribbon and click Give Control.
Or
Right-click on the required icon in the Student list and select Give Control.
-
The Student can now use the available tools to add content to the whiteboard.
Note: The Whiteboard icon in the Student list turns red to show that the Student is now in control. A flashing Leader icon is also displayed on their Whiteboard toolbar. -
Control can be switched to another Student by selecting their icon in the Student list and repeating step 2.
