Scanning Students
The Scan function enables you to cycle through each connected Student in turn, displaying its screen on the Tutor.
Multiple Student screens can also be scanned in one Scan window.
To scan one Student screen at a time
-
Select the Group tab in the ribbon.
-
Select the One Client at a time
 icon.
icon. -
In the List view
 Displays the currently connected Students or groups. You can switch the display mode between large icons and details view from the View tab in the ribbon., select the Students to include in the scan
 -
Use the slider to specify the interval before the scan is advanced to the next Student. The scan period can be set anywhere between five seconds and two minutes.
-
Click Start.
-
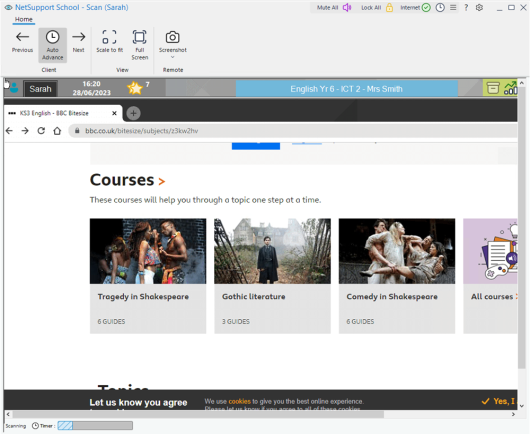
The Scan window will appear and immediately show you the first Student in the sequence. It will cycle through the selected Students, showing their screens on the Tutor until you end the scan.
To end the scan
-
On the caption bar, click the Close
 icon.
icon.
See also:
Scanning multiple Student screens
