Working with classroom layouts
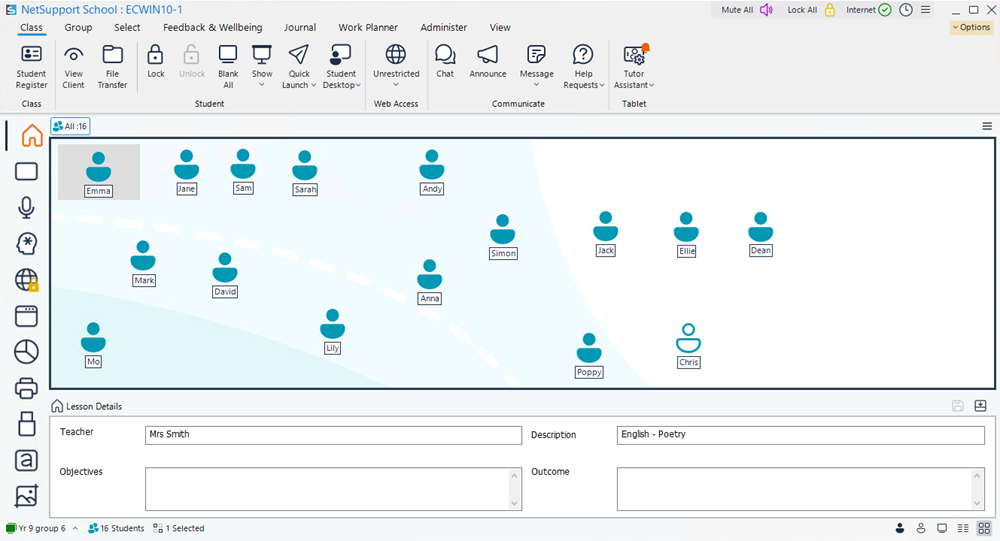
Once you have selected a classroom or group, you can rearrange the individual Student icons in the List view![]() Displays the currently connected Students or groups. You can switch the display mode between large icons and details view from the View tab in the ribbon. to reflect the layout of the classroom. A background image can also be added to further customise the Tutor Console.
Displays the currently connected Students or groups. You can switch the display mode between large icons and details view from the View tab in the ribbon. to reflect the layout of the classroom. A background image can also be added to further customise the Tutor Console.
When using Room mode![]() Allows you to connect to Students in a specified room., the classroom layout will be automatically saved against the room selected. When you start the Tutor and select your room, the layout will automatically load.
Allows you to connect to Students in a specified room., the classroom layout will be automatically saved against the room selected. When you start the Tutor and select your room, the layout will automatically load.
To arrange Student icons
-
Select the Student icon and drag it to the desired position.
To lock a layout
Once the Student icons are in the required positions, they can be fixed in place.
-
Select the View tab in the ribbon and click Lock Layout.
-
Student icons will be fixed in position and unable to be moved.
See also:
